Statuses describe where an item is in your workflow. Work item types describe what kind of work it is. Both are set once for the workspace so every team, and every connected agent, reads them the same way.
Statuses
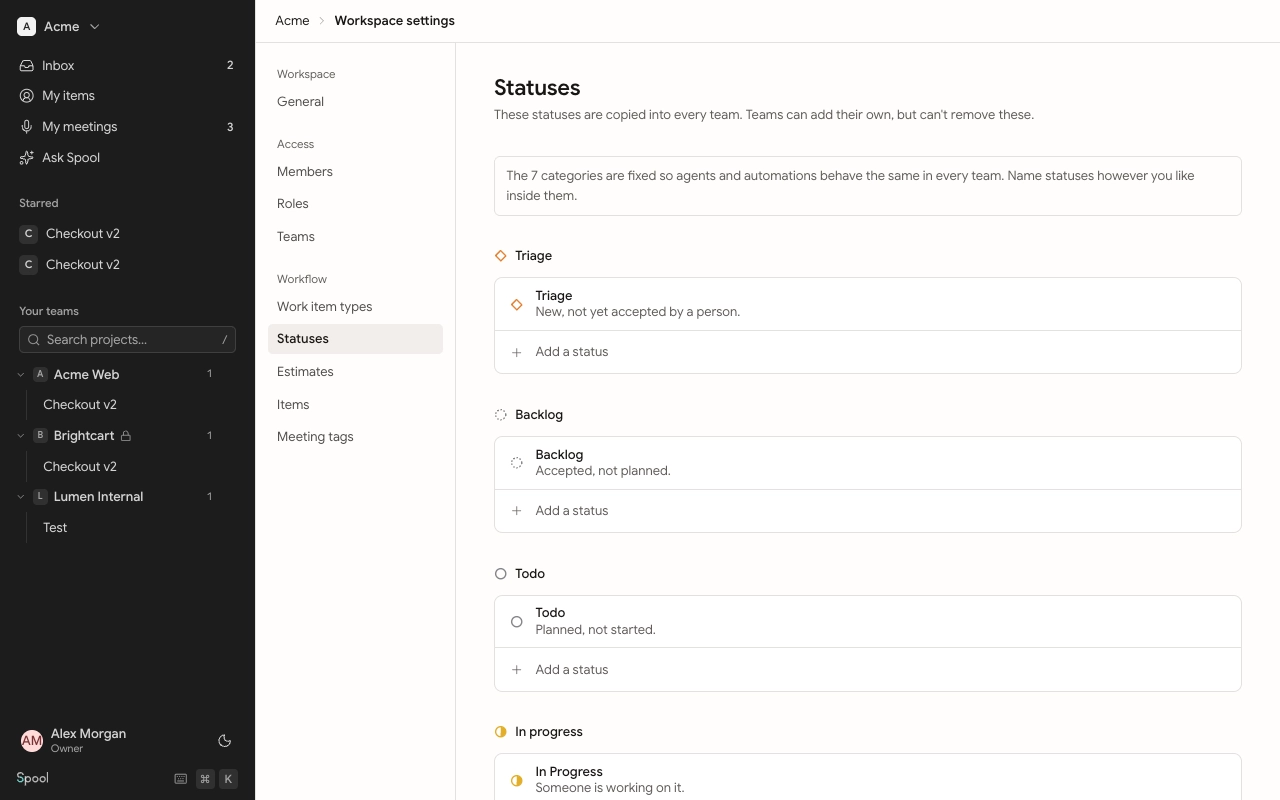
Every status belongs to one of seven fixed categories. The categories never change, so boards, sprints and agents behave the same in every team. Inside them, you can name statuses however you like.
| Category | Default status | Meaning |
|---|---|---|
| Triage | Triage | New, not yet accepted by a person. |
| Backlog | Backlog | Accepted, not planned. |
| Todo | Todo | Planned, not started. |
| In progress | In Progress | Someone is working on it. |
| In review | In Review | Waiting on a review or approval. |
| Done | Done | Finished. |
| Canceled | Canceled | Will not be done. |
Workspace statuses
Who can do thisEdit workspace statuses (Owners and Admins by default)
Workspace statuses are copied into every team. Teams can add their own but can’t remove these.
- Open Workspace settings and go to Statuses.
- Under a category, click Add a status and type a name. For example, add “Ready for QA” under In review.
- Click a status’s name or description to edit it in place. Descriptions are optional, but agents read them, so a short line helps.
To delete a status, click its delete button and confirm. It disappears from every team. Each category keeps at least one status, and a status that items still use can’t be deleted: move those items to another status first.
Team statuses
A team can add statuses of its own on top of the workspace’s, in its Statuses team settings. A team status needs a name and a description. It only appears in that team. See Teams.
Work item types
Spool has two levels of item. Epic-level types hold standard items. Standard types live under an epic or on their own. To split an item further, use a checklist in its description.
| Type | Level | What it’s for |
|---|---|---|
| Epic | Epic-level | A large body of work that groups stories, tasks and bugs. |
| Story | Standard | A user-facing change with acceptance criteria. |
| Task | Standard | A unit of work that is not user-facing. |
| Bug | Standard | Something that does not work as intended. |
Who can do thisEdit work item types (Owners and Admins by default)
Add a type
- Open Workspace settings and go to Work item types.
- Click Add type.
- Enter a Name, like “Spike”, and pick its Level.
- Add a Description. Agents read it to pick the right type, so say what it’s for: “Time-boxed research. The output is a doc, not code.”
- Click Add type. It’s available in every team straight away.
Rename, turn off or delete a type
- Click a type’s name or description to edit it.
- Use the switch on its row to turn it off. Teams can no longer create items of that type. At least one standard type must stay on.
- Custom types can be deleted once no items use them. The default types can be renamed or turned off, but not deleted, because agents rely on them.
Description templates
Each type comes with a description template, so items of that type start with a useful structure. When an item’s description is empty, a button such as Bug template appears under it. Click it to fill in the template, then edit.
| Type | Template sections |
|---|---|
| Epic | Goal, Scope, Success looks like |
| Story | Why it matters, What we’re building, Acceptance criteria, Out of scope |
| Task | What needs doing and why, Checklist |
| Bug | Steps to reproduce, Expected, Actual, Acceptance criteria |
Types you add use the Epic template if they’re epic-level and the Task template if they’re standard. Connected agents get the same templates and are asked to follow them when they write items.